
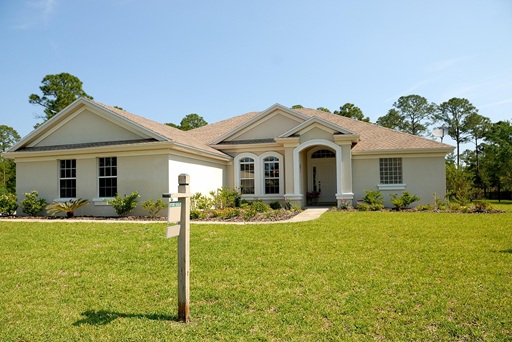
Replacing your sliding glass door can boost comfort, security, and energy savings while giving your home a cleaner look. You can quickly decide whether to repair or replace by checking for worn rollers, damaged tracks, broken seals, or drafty panes — issues that signal replacement will deliver smoother operation and better efficiency.
This article Sliding Glass Door Replacement walks you through what to expect during the replacement process, the typical costs and maintenance you’ll face, and how a modern door pays back over time. Expect practical steps, realistic price ranges, and clear tips to help you choose the right replacement for your home and budget.
Sliding Glass Door Replacement Process
You’ll evaluate whether the door needs replacing, choose a model that fits your opening and energy goals, take precise measurements, and decide between hiring a pro or doing it yourself. Each step affects cost, weatherproofing, security, and long-term performance.
Assessing the Need for Replacement
Inspect hardware, glass, frame, and operation to determine if replacement is necessary. Check for cracks, fogging between insulated panes, warped frames, persistent drafts, or doors that stick despite adjustment.
Measure energy performance: look for high heating or cooling bills and feel for cold air at the perimeter. Consider upgraded glazing (low-E, double or triple pane) if condensation or thermal loss appears.
Evaluate security: failing locks, loose rollers, or bent tracks reduce safety. If multiple issues exist—structural frame damage, rot, or out-of-square openings—replacement often costs less long-term than repeated repairs.
Selecting the Right Sliding Glass Door
Match door type to your needs: standard two-panel, multi-panel pocket, or lift-and-slide for larger openings. Choose frame material—vinyl for low maintenance, aluminum for strength, or fiberglass/wood-clad for aesthetics and insulation.
Prioritize glass options: double-pane with low-E coatings and inert gas fill (argon) for energy savings; tempered or laminated glass for safety. Confirm U-factor and Solar Heat Gain Coefficient (SHGC) ratings for your climate.
Decide on accessories: multi-point locks, anti-lift devices, integrated blinds, and screen types. Balance initial cost against projected energy savings and resale value.
Preparation and Measurements
Remove trim or interior casing only as needed to expose the rough opening; preserve existing trim if you plan to reuse it. Measure the rough opening width and height in three places (top, middle, bottom or left/center/right) and record the smallest measurement.
Measure diagonals to check squareness; more than 1/4″ variance indicates framing issues that require repair. Measure sill depth and check threshold condition for flashing and drainage.
Prepare the work area: protect floors, disconnect nearby wiring or sensors, and plan for disposal. Order the new unit with 1/4″–1/2″ clearance around the rough opening for shims and insulation unless the manufacturer specifies otherwise.
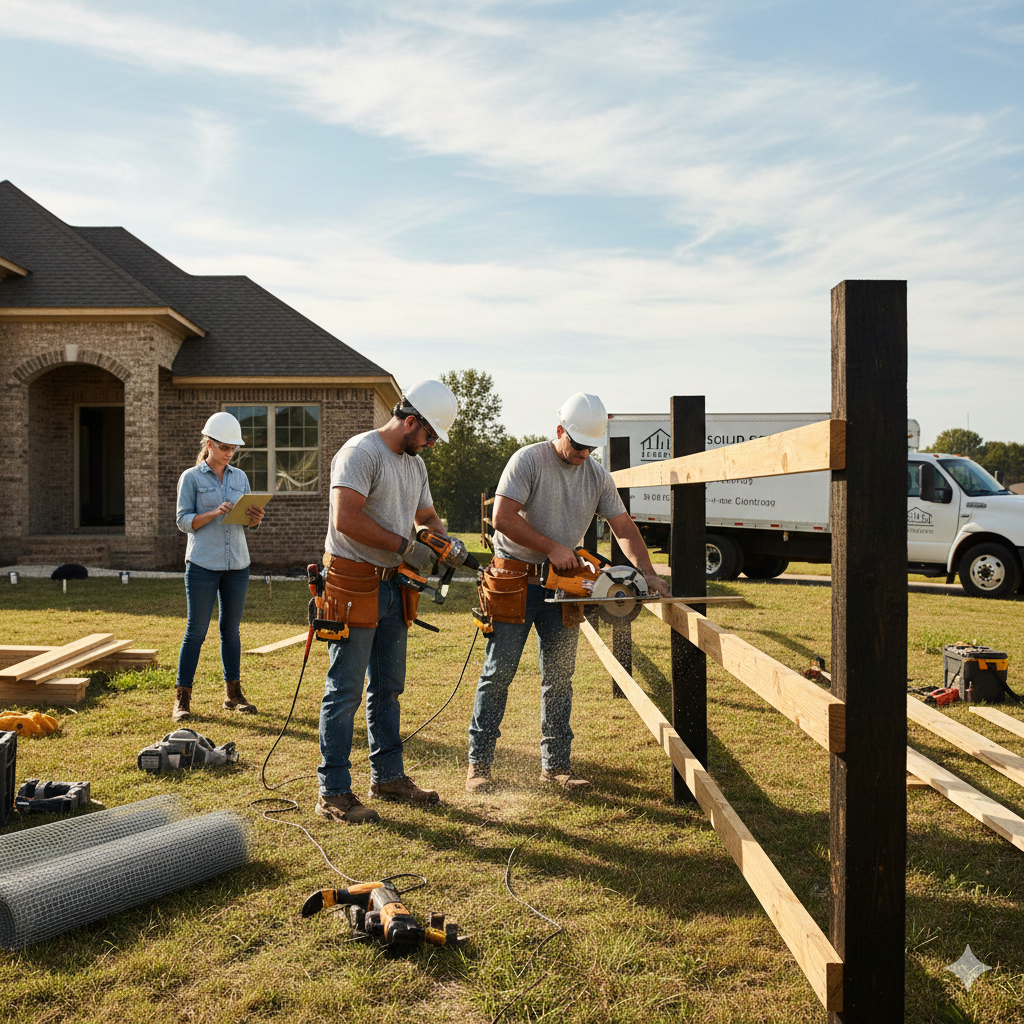
Professional Versus DIY Installation
Hire a professional when the opening is out of square, load-bearing structural work is required, or you need guaranteed waterproofing and warranty coverage. Pros handle flashing, sealants, and structural modifications, and they often provide labor warranties that protect against leaks and operational failures.
Choose DIY if the opening is square, you have carpentry experience, and the replacement is a like-for-like unit with the same rough opening. Confirm you have tools for shimming, leveling, drilling, and sealing, and follow manufacturer instructions precisely.
Compare costs: professionals add labor but reduce risk of leaks and warranty issues. If you DIY, document measurements, take photos throughout, and use manufacturer-recommended materials for flashing and insulation to protect performance.
Cost, Maintenance, and Long-Term Benefits
You’ll see upfront costs vary by material, glass type, and installation complexity. Proper maintenance preserves seal integrity and energy savings for decades.
Replacement Costs and Factors Affecting Price
Expect typical installed prices from about $1,000 for a basic 6-foot vinyl unit to $2,500 for higher-end vinyl or aluminum. Premium wood, fiberglass, or multi-panel systems commonly range from $2,500 to $8,000 depending on size and customization.
Major cost drivers:
- Material: vinyl and aluminum cost less; wood and fiberglass cost more.
- Glass: double-pane low-E is standard; triple-pane or specialized coatings add $200–$1,000+.
- Labor & modifications: simple frame swap vs. structural opening changes can add $300–$2,000.
- Hardware and accessories: upgraded rollers, multi-point locks, or blinds-in-glass add $100–$800.
- Warranty and disposal: extended warranties or disposal of old units can add fees.
Ask contractors for a written breakdown showing door unit, labor, glass upgrades, and extras. Get at least three estimates and check whether installation includes flashing, trim, and sealant.
Energy Efficiency Improvements
Replacing single-pane or older seals with insulated, low-E double or triple-pane glass typically reduces heat transfer and lowers HVAC load. You can reasonably expect improved comfort and reduced drafts; exact savings depend on climate and existing insulation.
Key efficiency choices:
- Low-E coatings reduce solar heat gain and heat loss.
- Argon or krypton fills between panes improve R-value.
- Thermally broken aluminum or insulated vinyl frames cut conductive loss.
- Proper installation with continuous flashing and high-quality weatherstripping prevents air leakage.
When sizing savings, compare current U-factor and SHGC to new product specs. Rebates or incentives may offset upgrade costs—check local utility programs.
Routine Maintenance Tips
Inspect weatherstripping, rollers, and tracks every 6–12 months. Clean tracks and lubricate rollers with silicone-based lubricant to prevent sticking and uneven wear.
Glass and frame care:
- Wash glass with mild detergent; avoid abrasive pads.
- Touch up finish or sealant on wood frames annually.
- Check seals for condensation between panes; that indicates seal failure and likely need for replacement.
Security and function checks:
- Test locks and keep strike plates aligned.
- Replace worn rollers or rollers’ bearings as needed to avoid heavy strain on the frame.
- Re-caulk perimeter joints if gaps or cracks appear to maintain thermal performance and prevent water intrusion.


Leave a Reply